UI & UX: best practices
Over the years, Microblink has teamed up with their partners to run dozens of tests, adding heaps of wisdom to our in-house team. Along the way, we've discovered some practices that not only improve user experience but also give conversion rates a boost.
Getting to the camera screen
Ensuring a smooth transition to the SDK's camera screen is important for user experience. Here are some tips how to approach it.
Make scanning a primary action
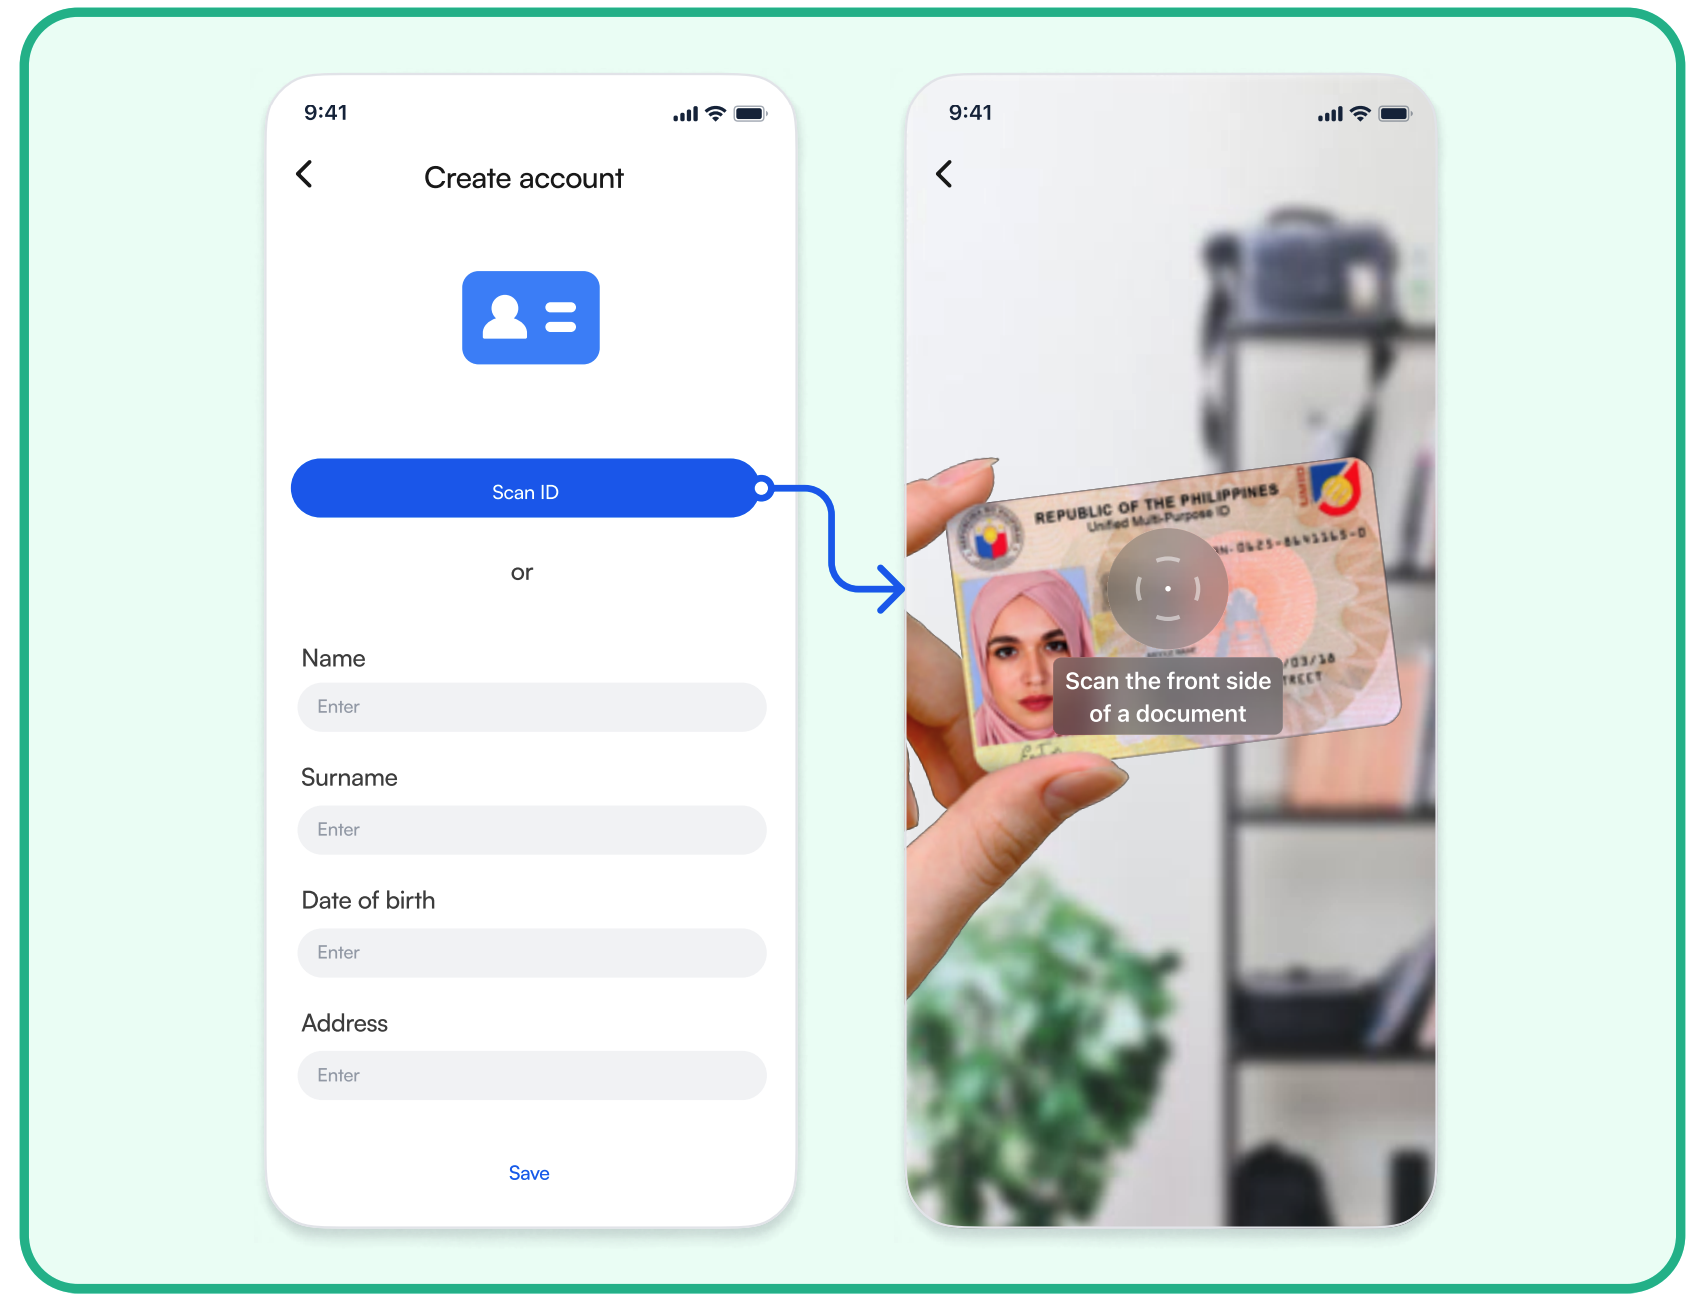
Do make scanning a primary action to get your users to sign up quicker and with less friction.
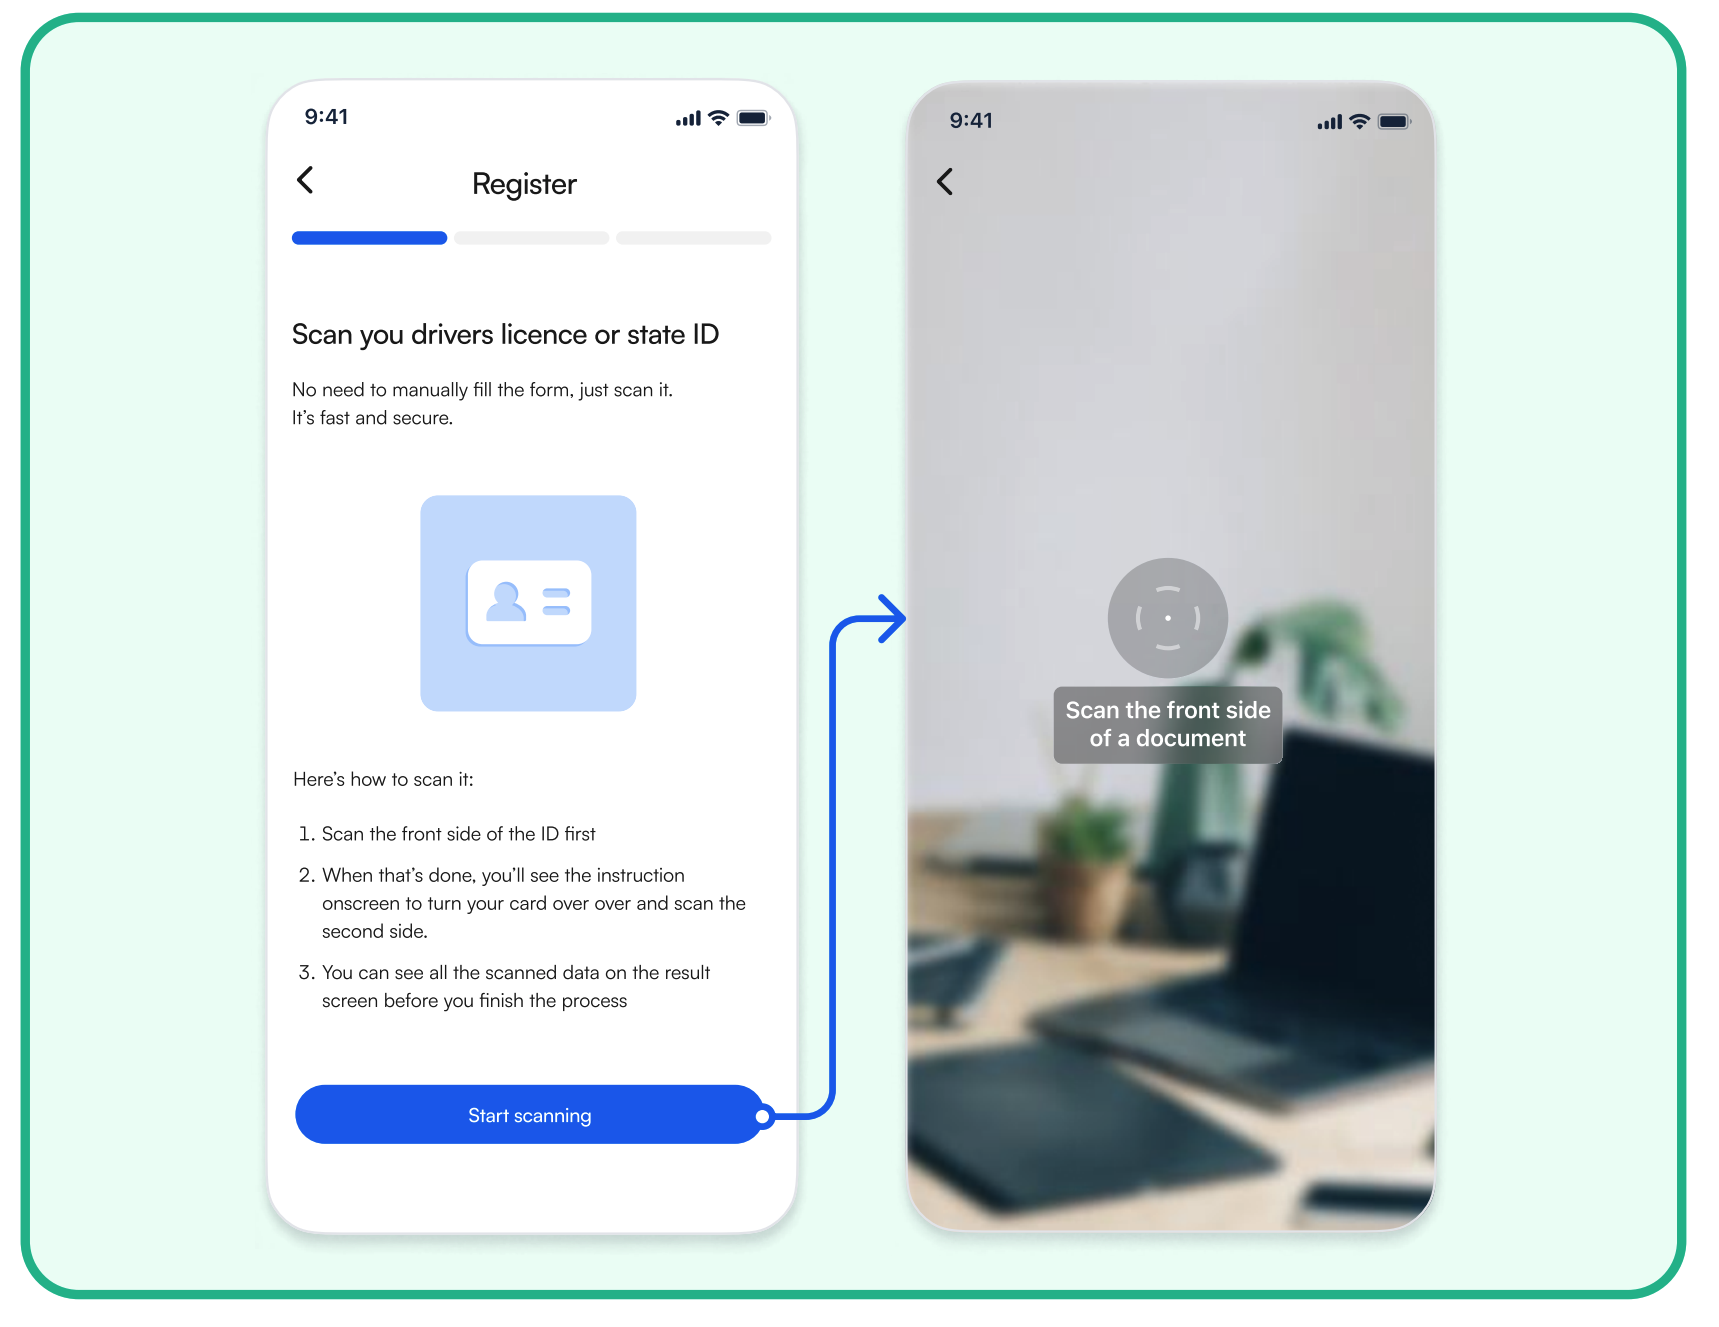
Don't make the user fill a form at the start if they can instead perform a scan; form filling could be misinterpreted as mandatory, and the scanning button could be missed.
Prepare & reassure users
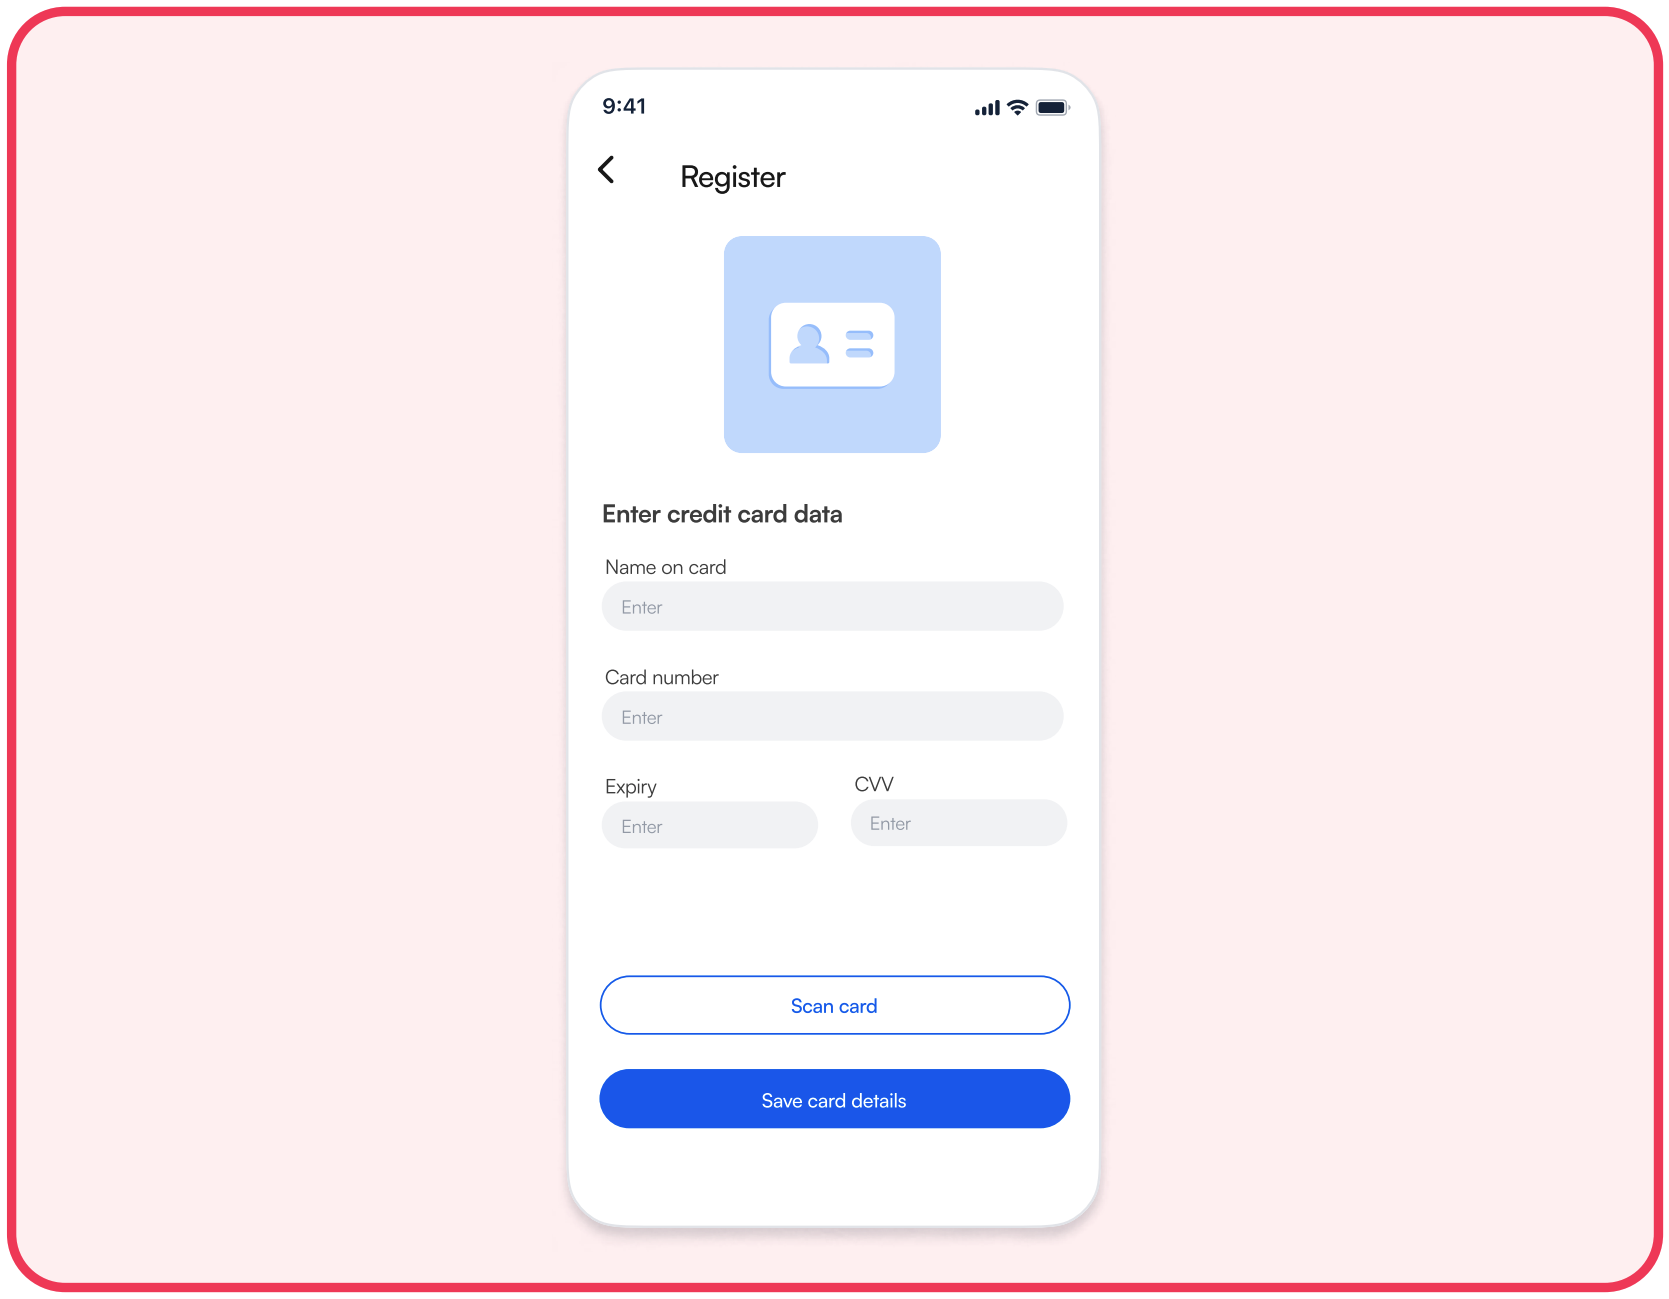
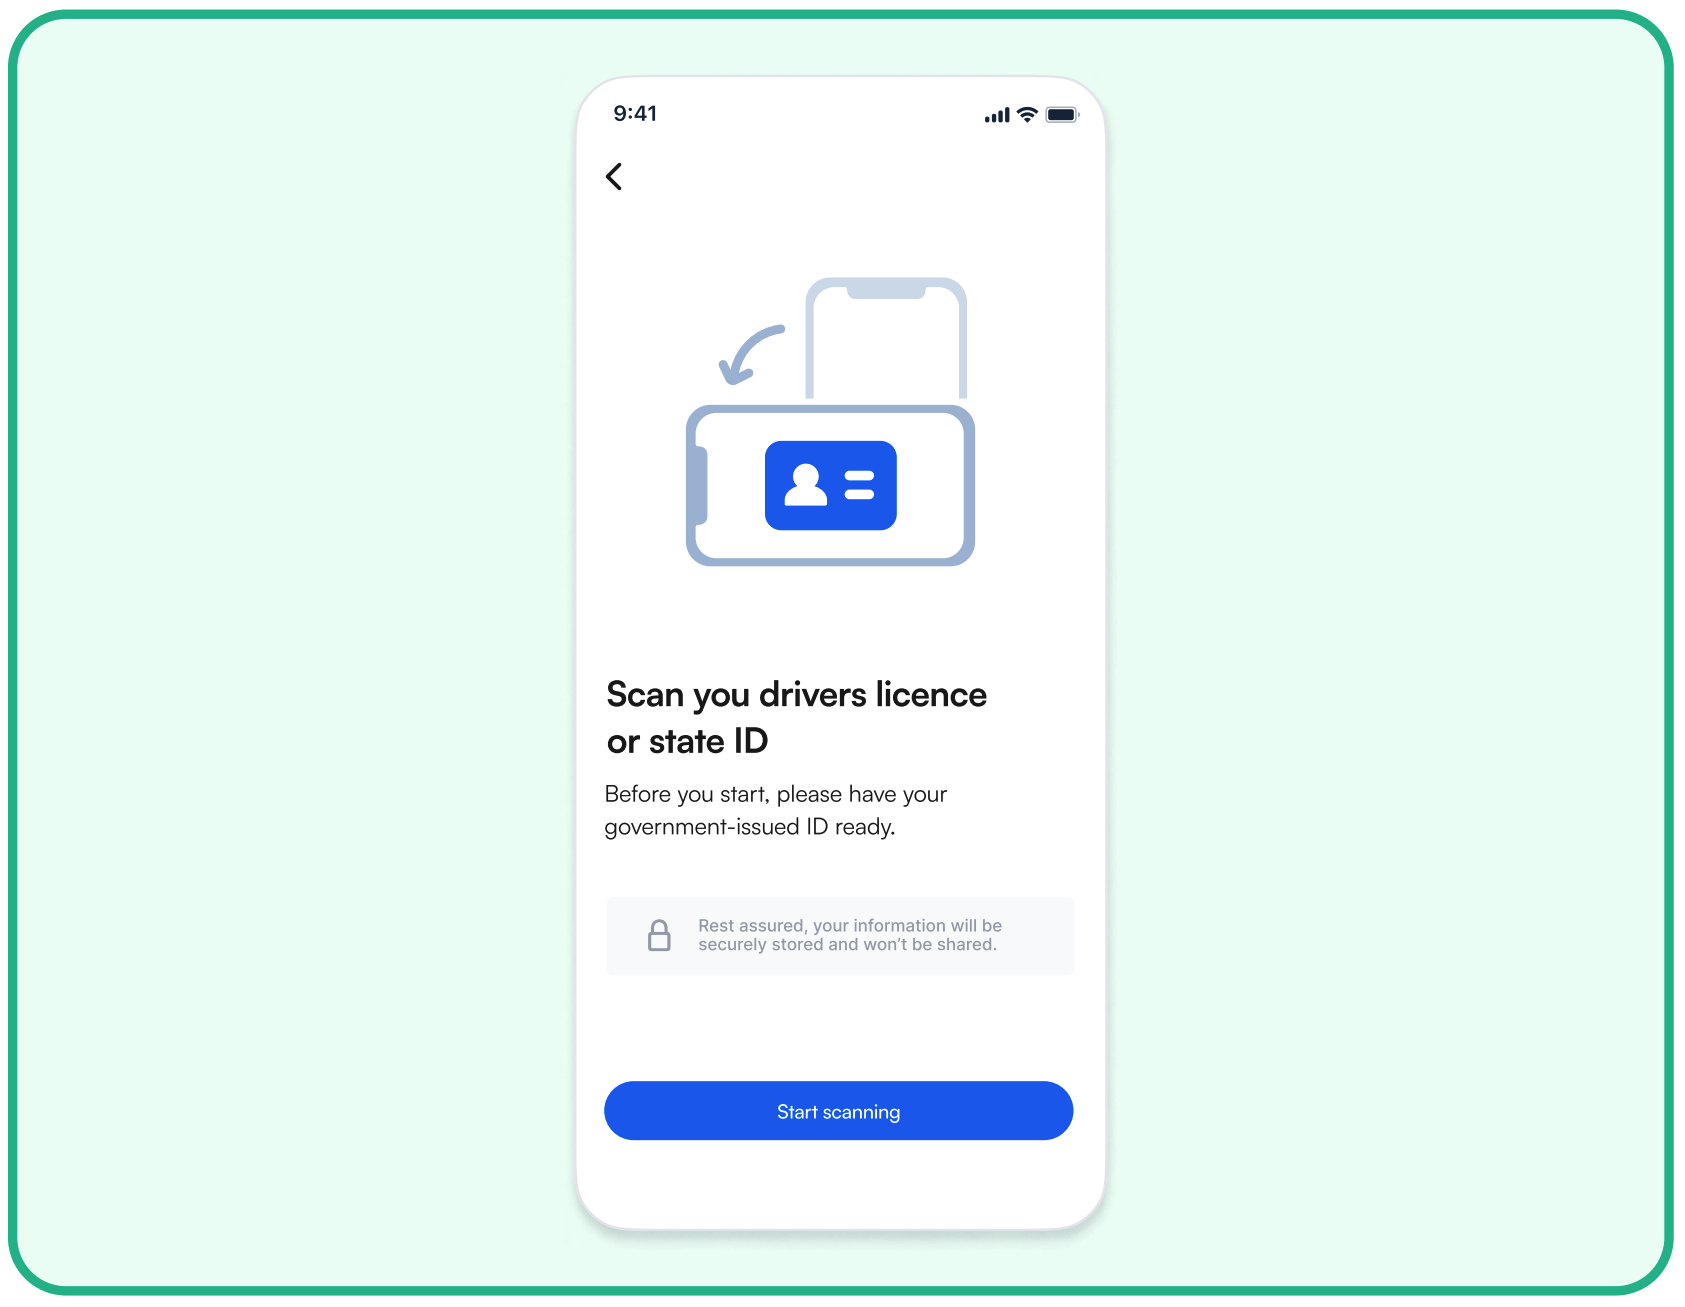
Scanning is a quicker and more user-friendly process compared to manual typing, but it's not something users do daily. Therefore, it's a good idea to provide users with a heads-up before they access the camera screen. This could be as simple as adding a text to the button or offering a quick onboarding guide explaining what to expect. Also, this gives users time to prepare the documents they need. Some user drop-off happens because users don't have documents ready so they abandon the session and return once they are ready. Some of the users can be concerned about the data privacy and you taking a photo of their personal documents. This is a great place to reassure them about data privacy and inform them how their data will be used.
Do give users a quick intro before they go to the camera screen. Get them ready for the scanning process by letting them know what to expect during and after, and make sure they're aware of the documents they'll need.
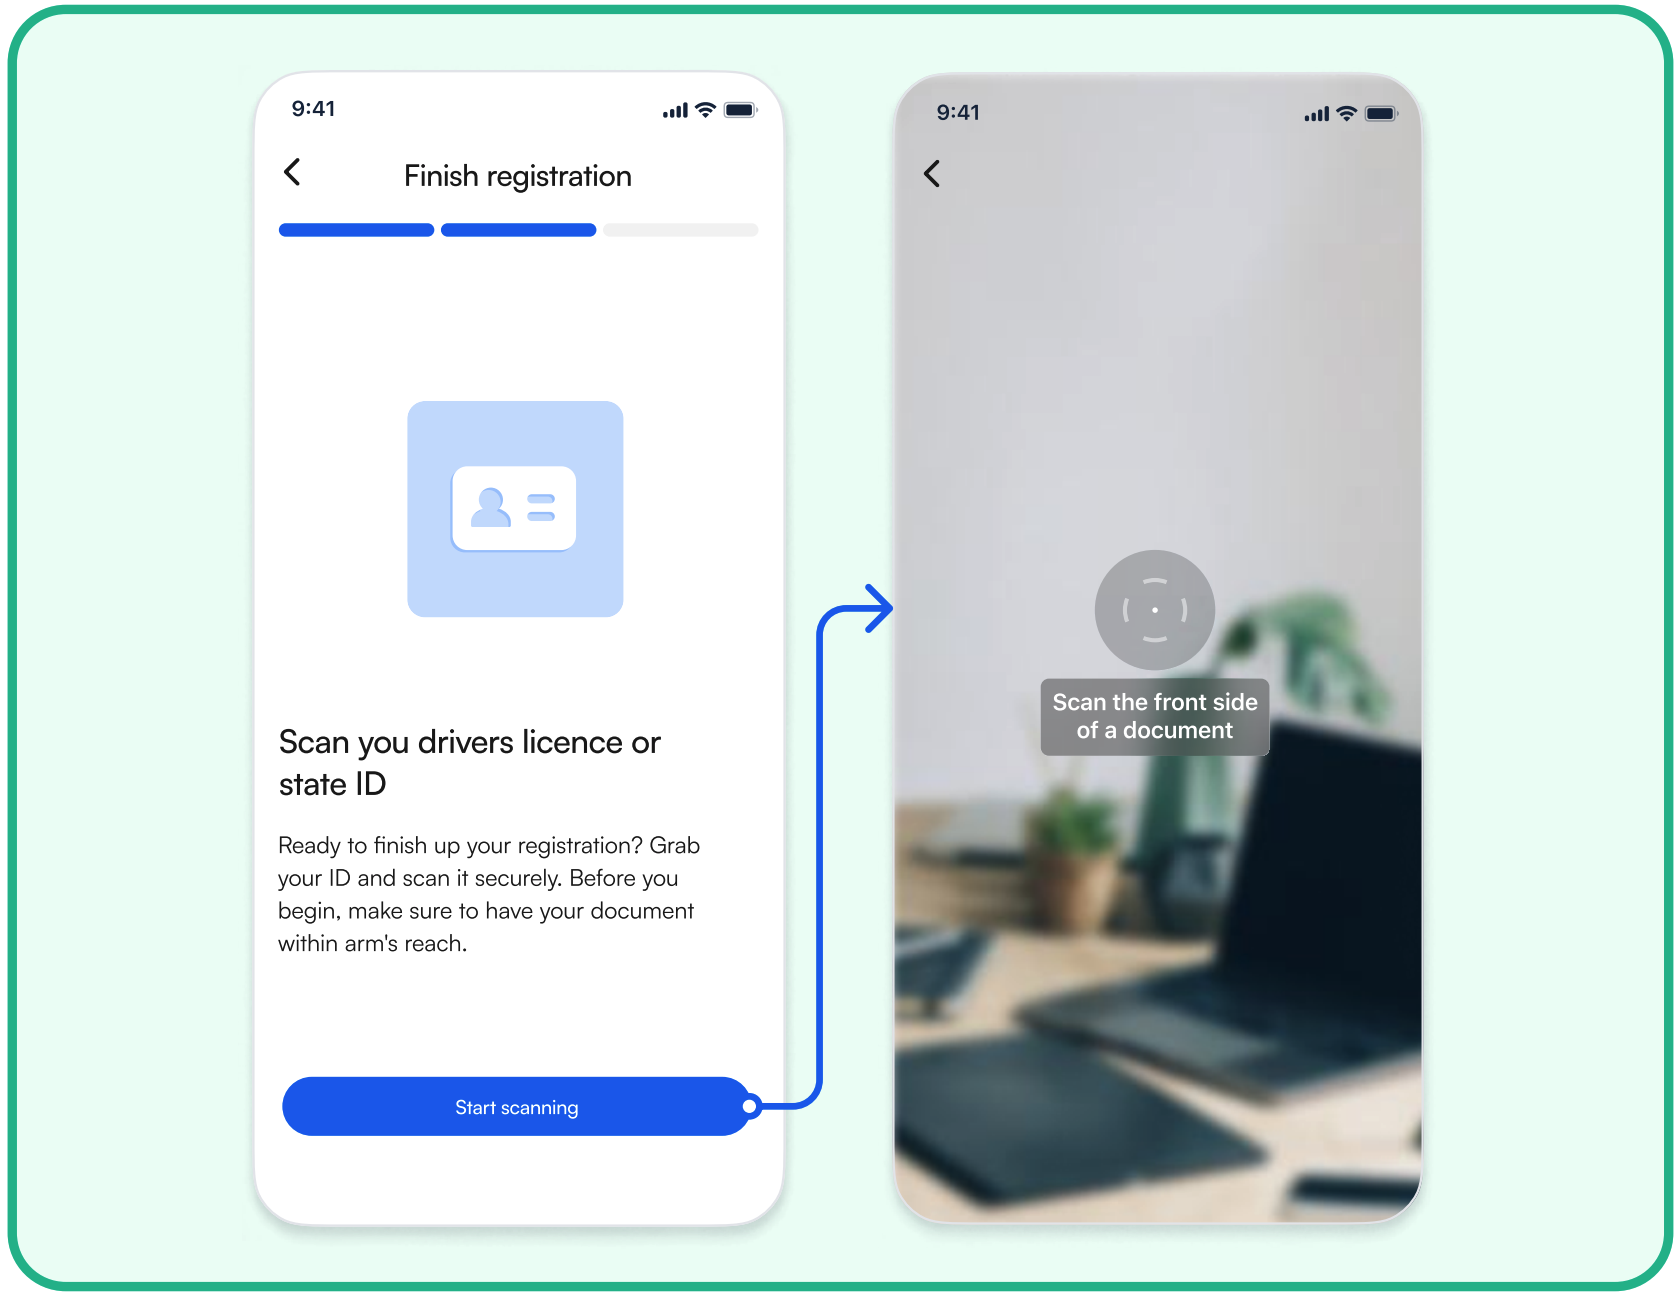
Don't use misleading content that surprises the user with the camera interface at unexpected times; "Upload" is not what's really happening on the next screen, so it's better to use explicit wording like "Start scanning".
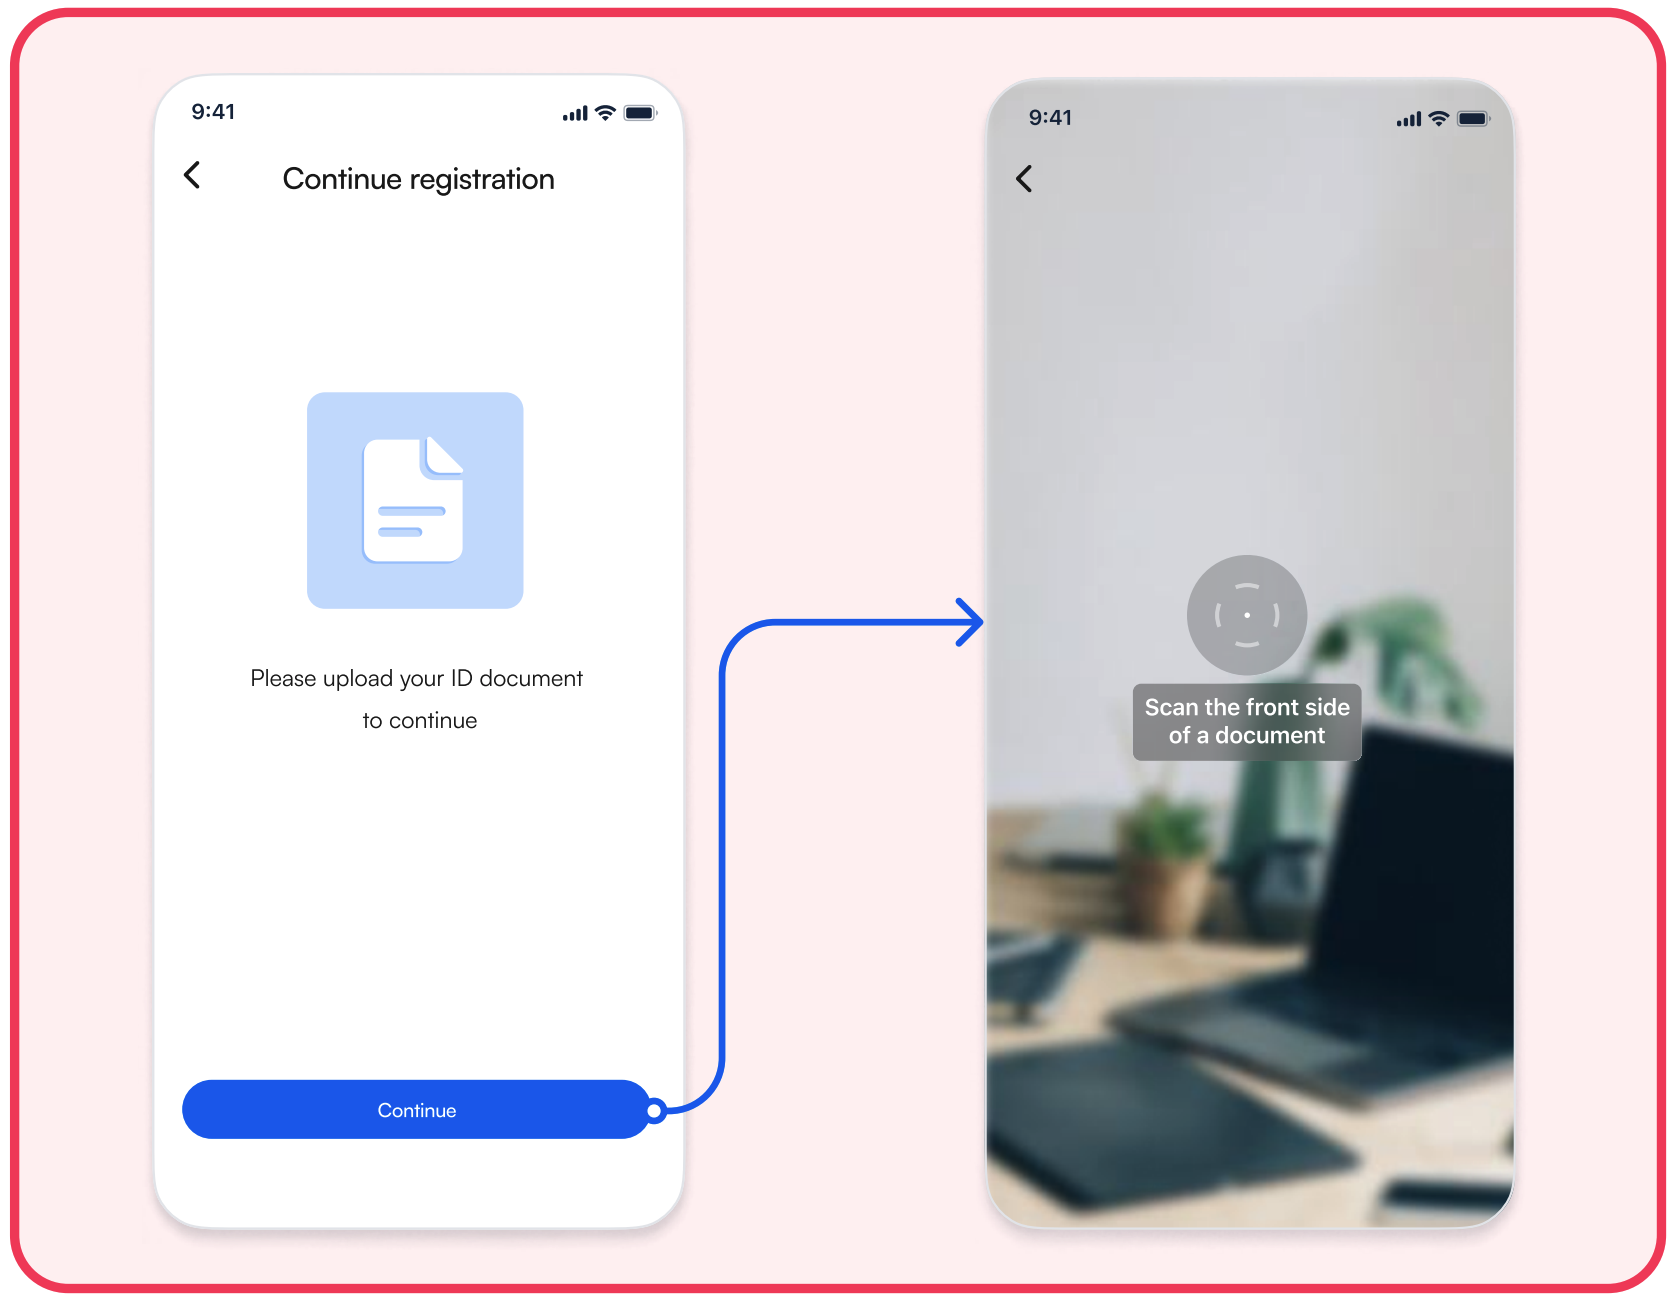
Do use illustrations instead of lengthy explanations. Users tend to focus on visuals more than text during onboarding. Keep the text concise and focus on the main points, as users are likely to skim through it. Consider using animations—in our research, animations proved to be the most effective in capturing users' attention.
Clear call to action
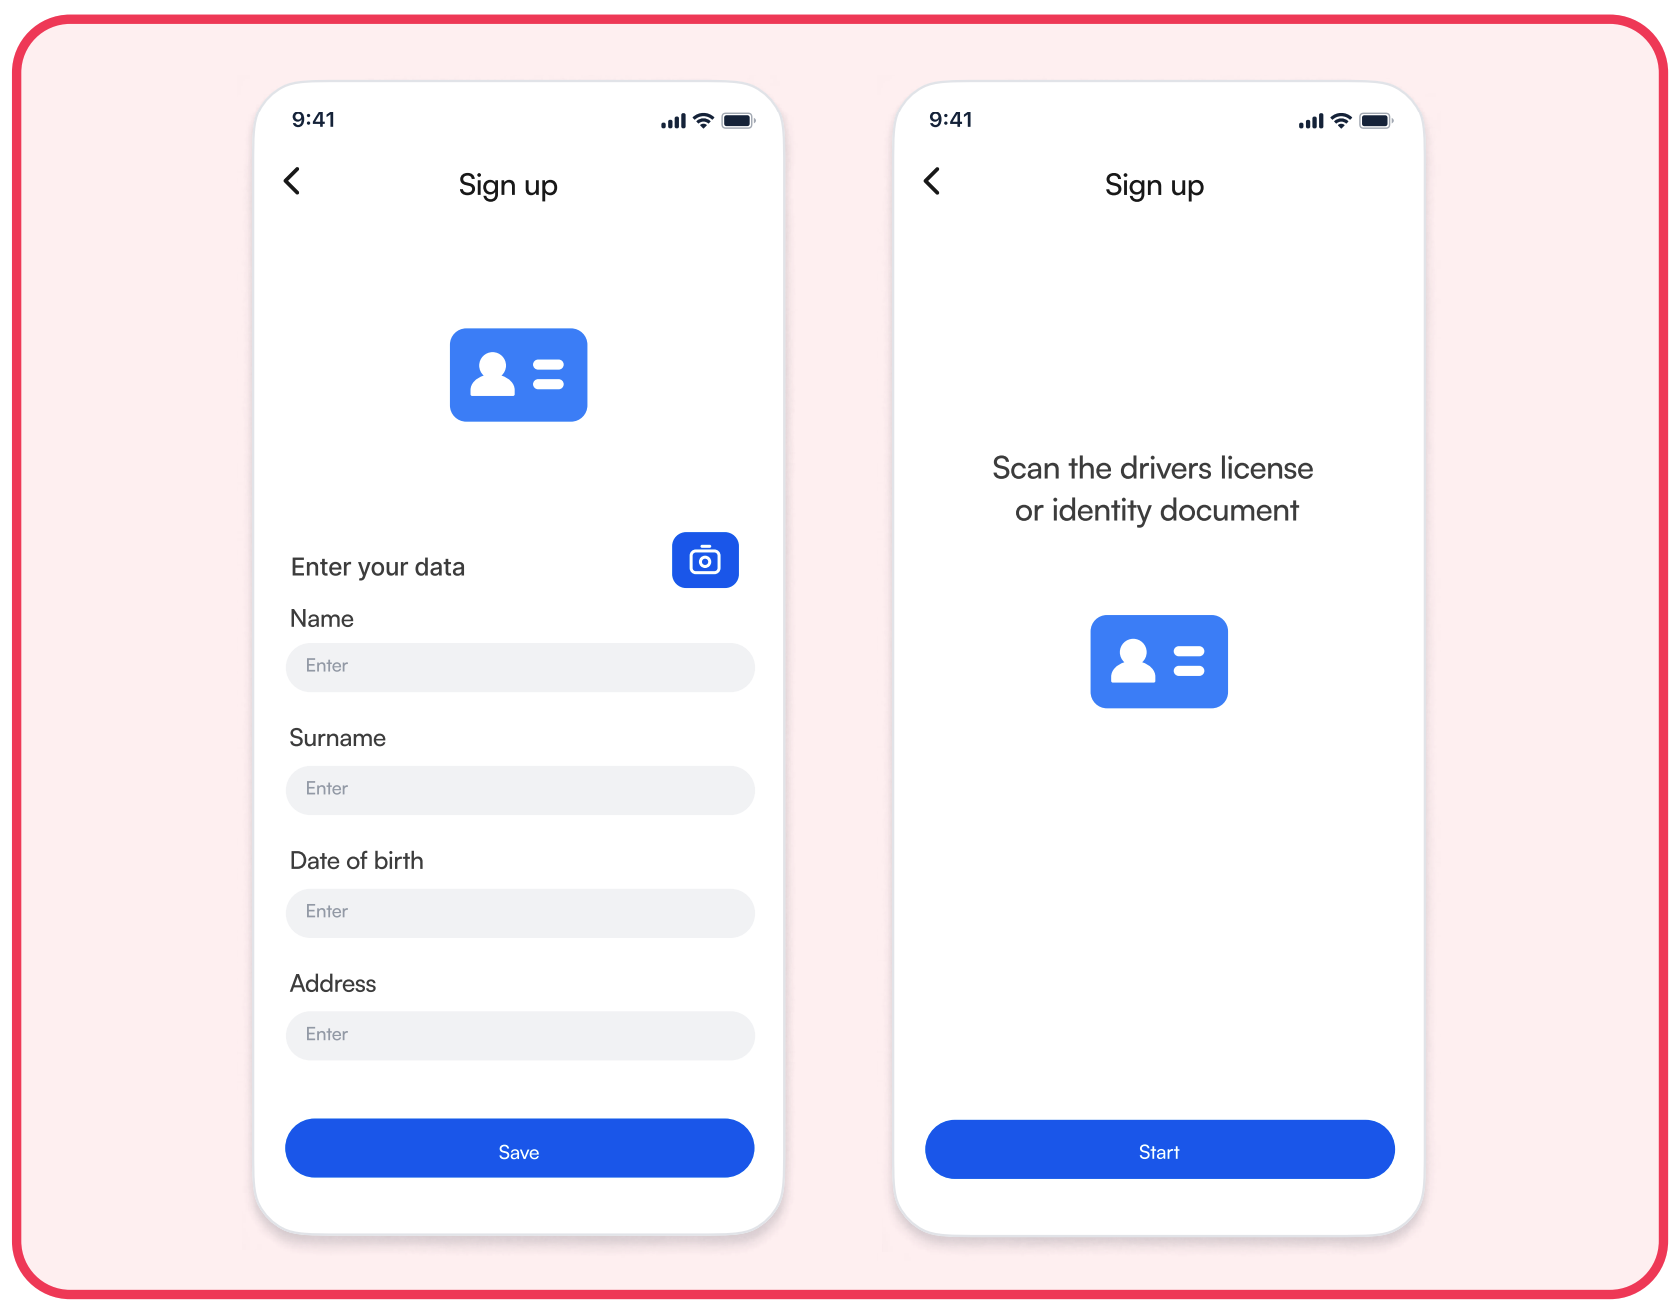
There isn't a universally recognized scanning icon that users instantly understand. This means that when a button lacks a label or text, users are likely to be unsure about its function. This uncertainty can result in lower conversion rates, as users tend to avoid pressing buttons when they're uncertain about their purpose. Equally important is the text on the button. Using vague calls to action like "Start" without providing detailed instructions may surprise users when the camera screen opens. Make the button's purpose explicit and provide clear instructions on what will happen when users tap it.
Do use buttons with text or labeled icons to ensure users know what the button does. Users don't like pressing buttons they aren't sure about, so make it clear what will happen when they press it.
Don't use only icons for buttons, since there isn't a strong UX pattern that users associate with scanning.
Customize the scanning SDK
We have extensively user-tested all of our SDKs to ensure the best possible experience for both you and your end users. While we recommend sticking with our out-of-the-box UI/UX for the highest conversion rates, there are several ways to customize the SDK to seamlessly integrate it into your app. In this section, we will provide you with a few tips for achieving optimal results with our SDK.
Avoid large buttons on the camera screen
Avoid putting large buttons on the camera screen, as they lead users to think they need to be tapped to finish. Users could interpret a manual entry button as a way to finish up, even though it's a fallback for credit card scanning.
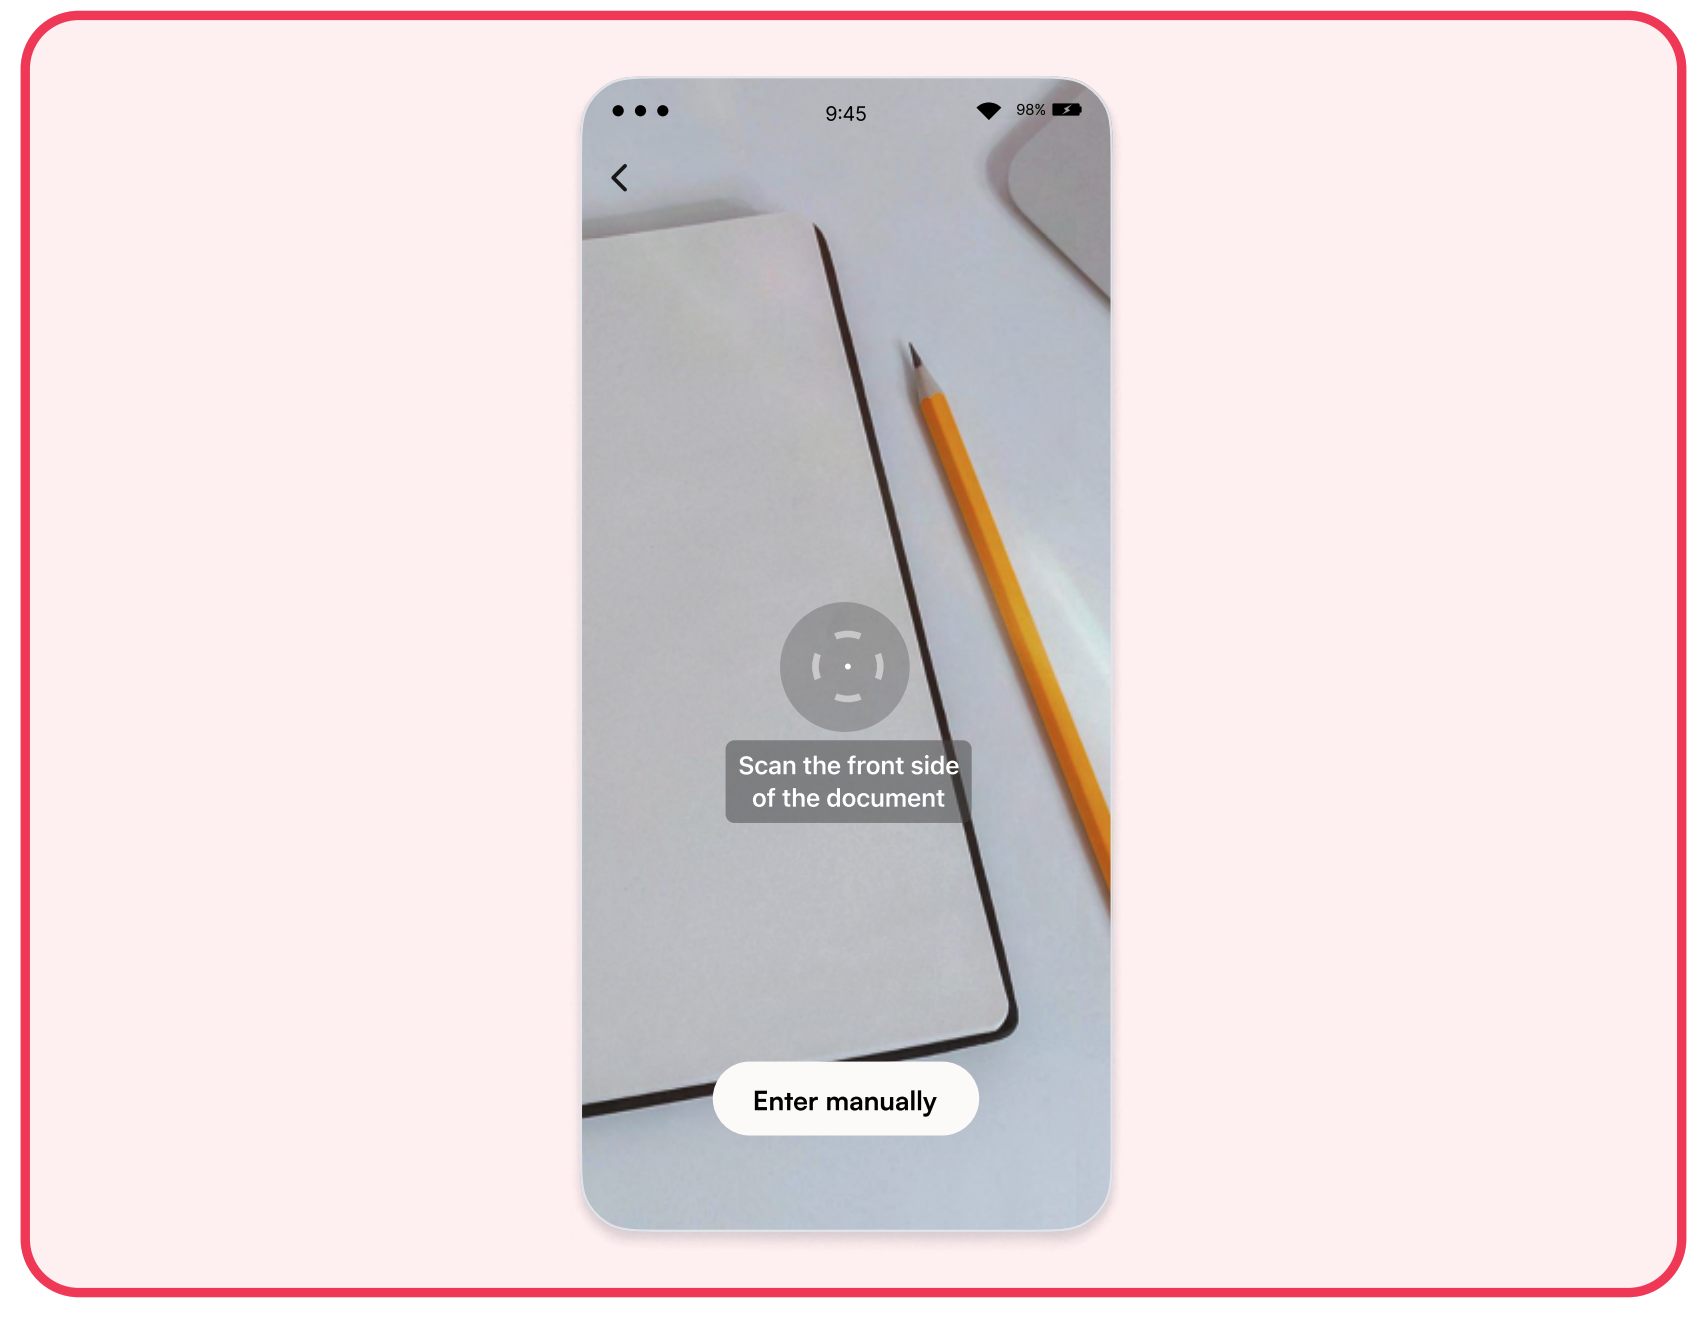
Avoid inserting UI inappropriately
Try not to insert the scanning UI where it isn't as usable or leads to confusion for the end user. Our scanning interface performs best when integrated into a full-screen view for the best display of feedback messages.
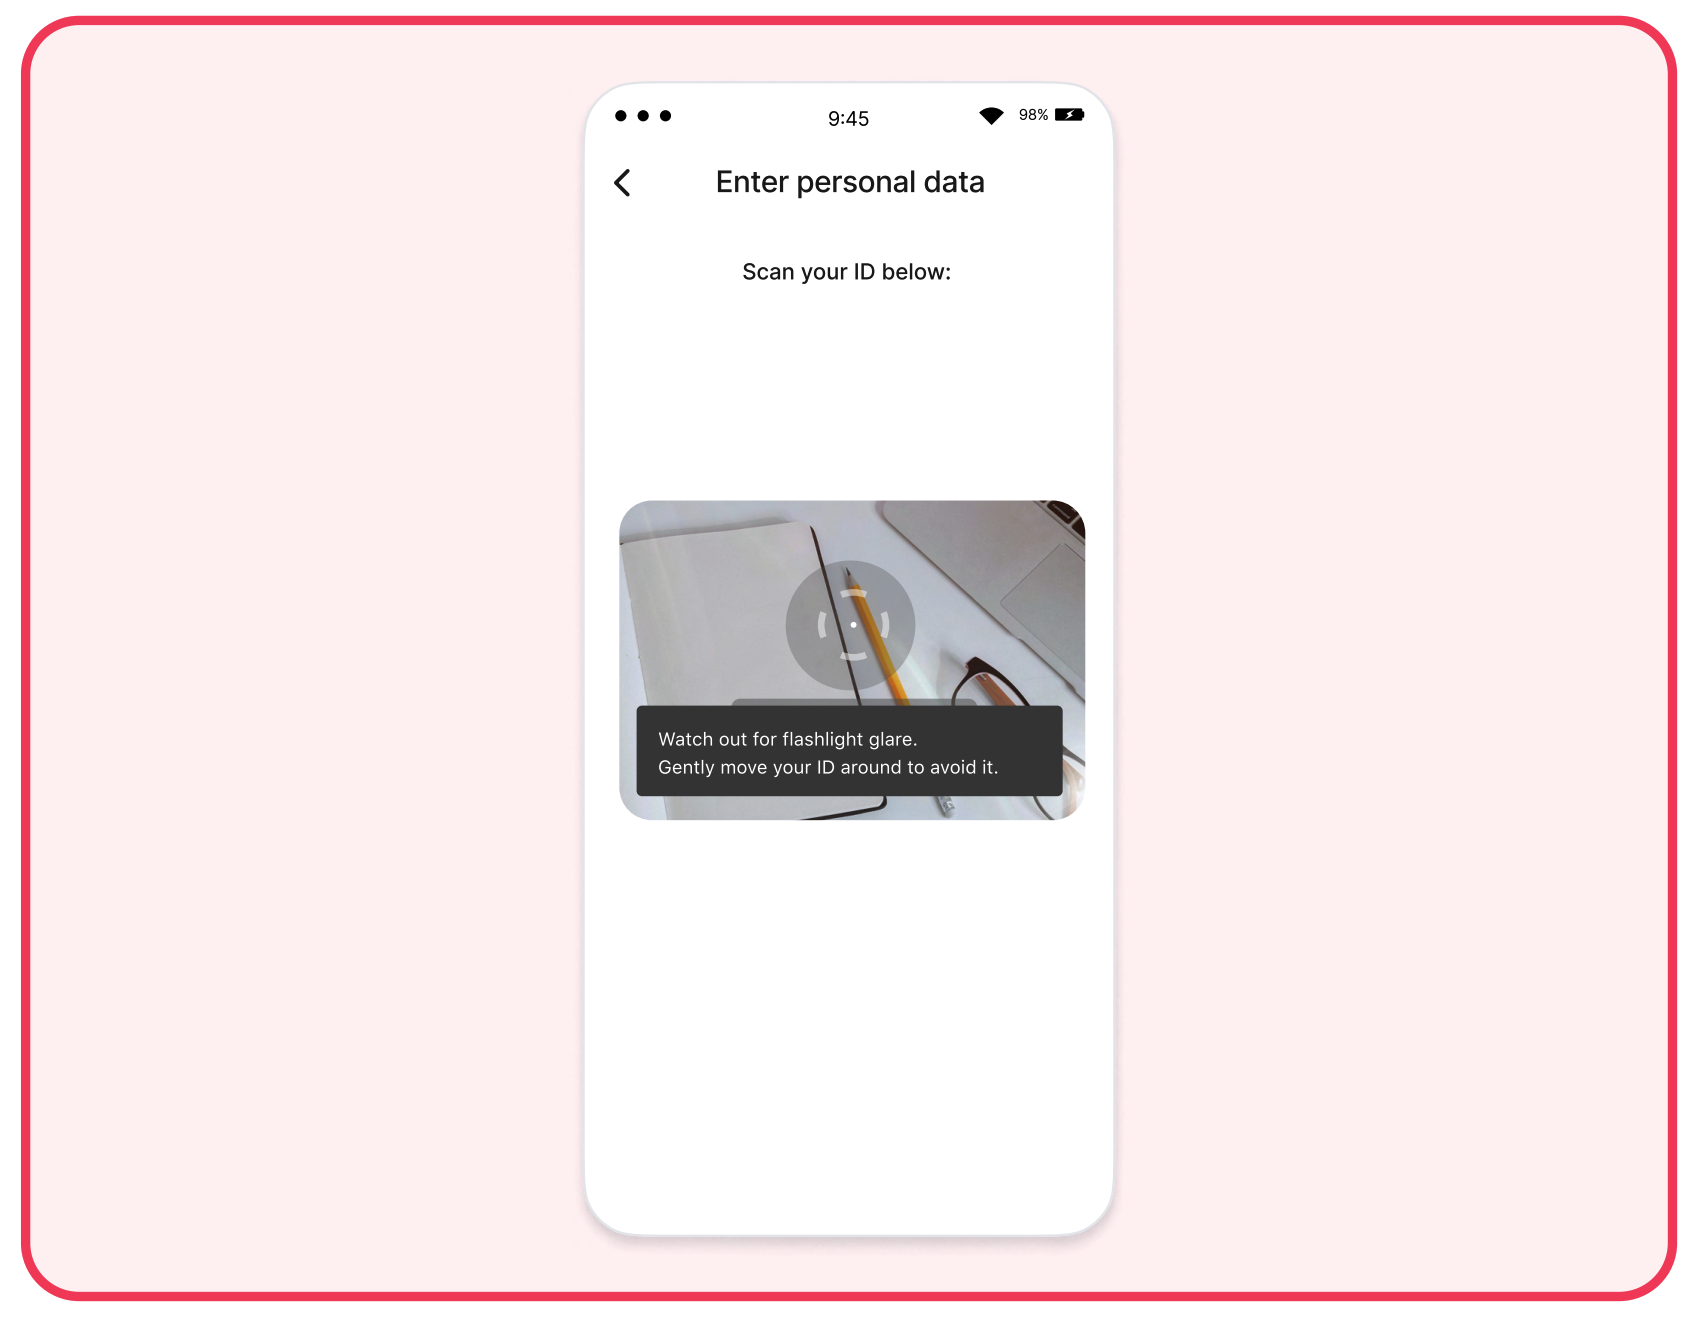
Avoid over-customizing
Avoid going too far with customizations, as it can negatively impact the performance, usability, and accessibility of the product.
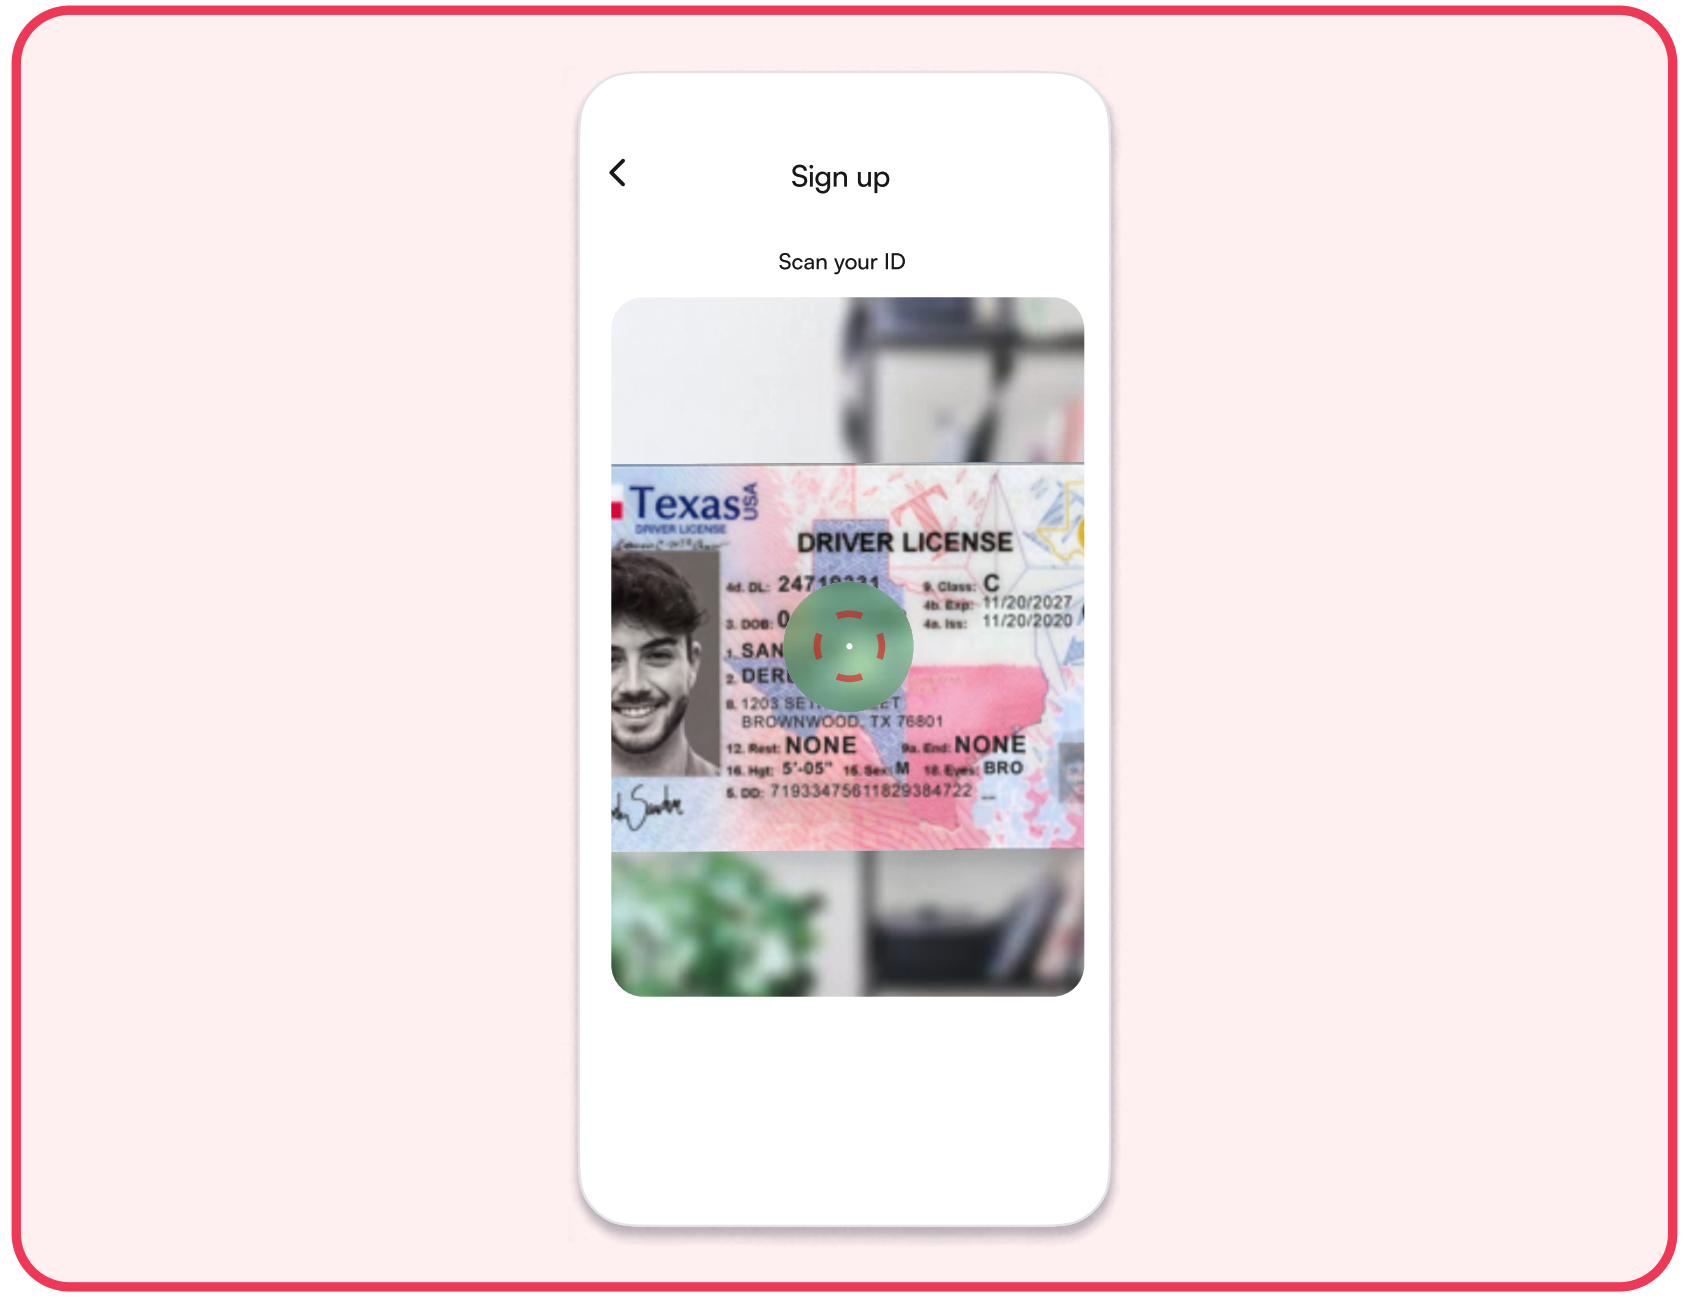
After an unsuccessful scan
A scanning process can conclude with successfully captured images, or it may time out if satisfactory images cannot be obtained. In such situations, there are several tips and tricks you can employ.
Provide clear instructions for retry
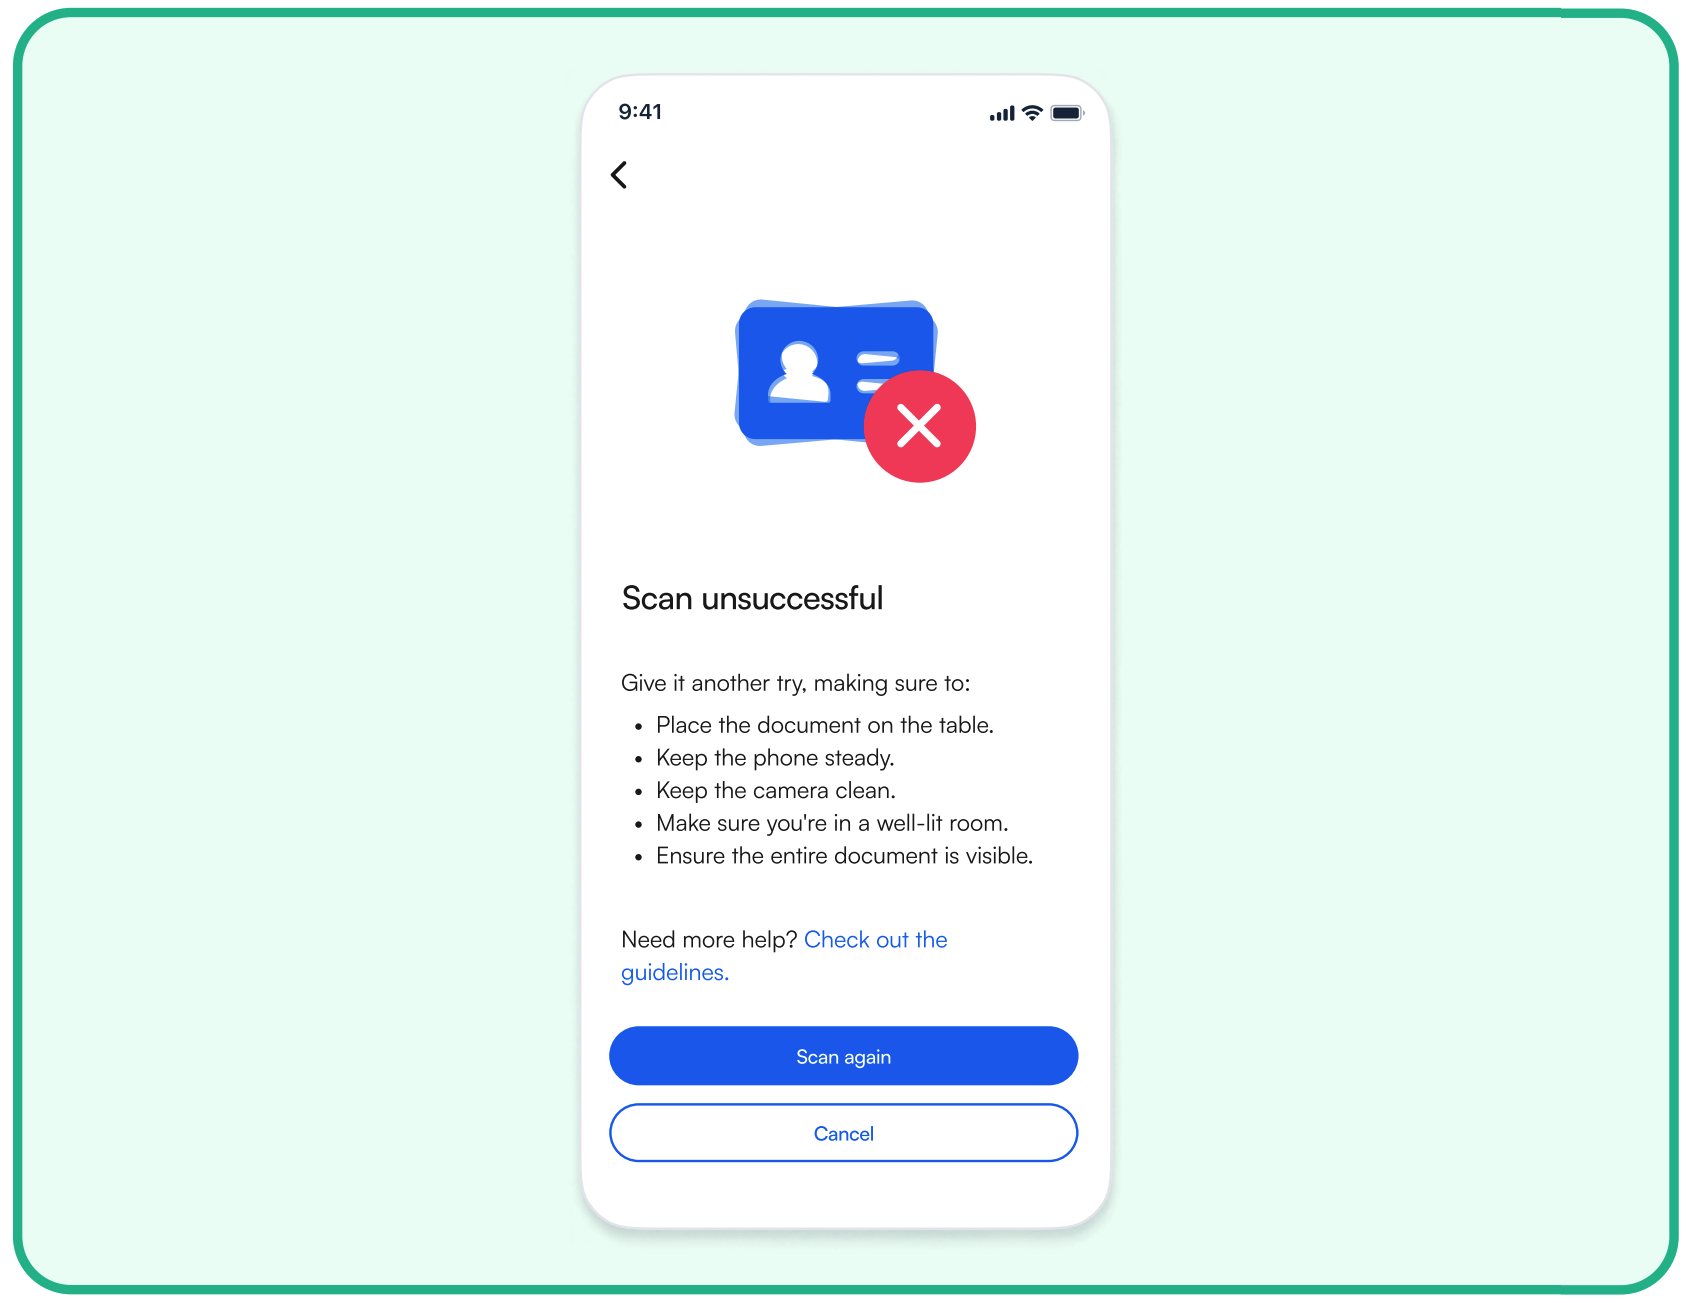
Our research shows that users sometimes overlook the fact that if they can't see something on their ID, the camera won't detect it either. They might not be aware that lighting conditions or reflections can cause scan failures. However, when users encounter scanning issues, they tend to pay closer attention to instructions and start reading the text more carefully than during the onboarding process.
Therefore, provide clear instructions on how to rectify errors and successfully complete the scan. You can utilize the status reporting mechanism to guide users in case of errors such as no detection or unsupported document types.
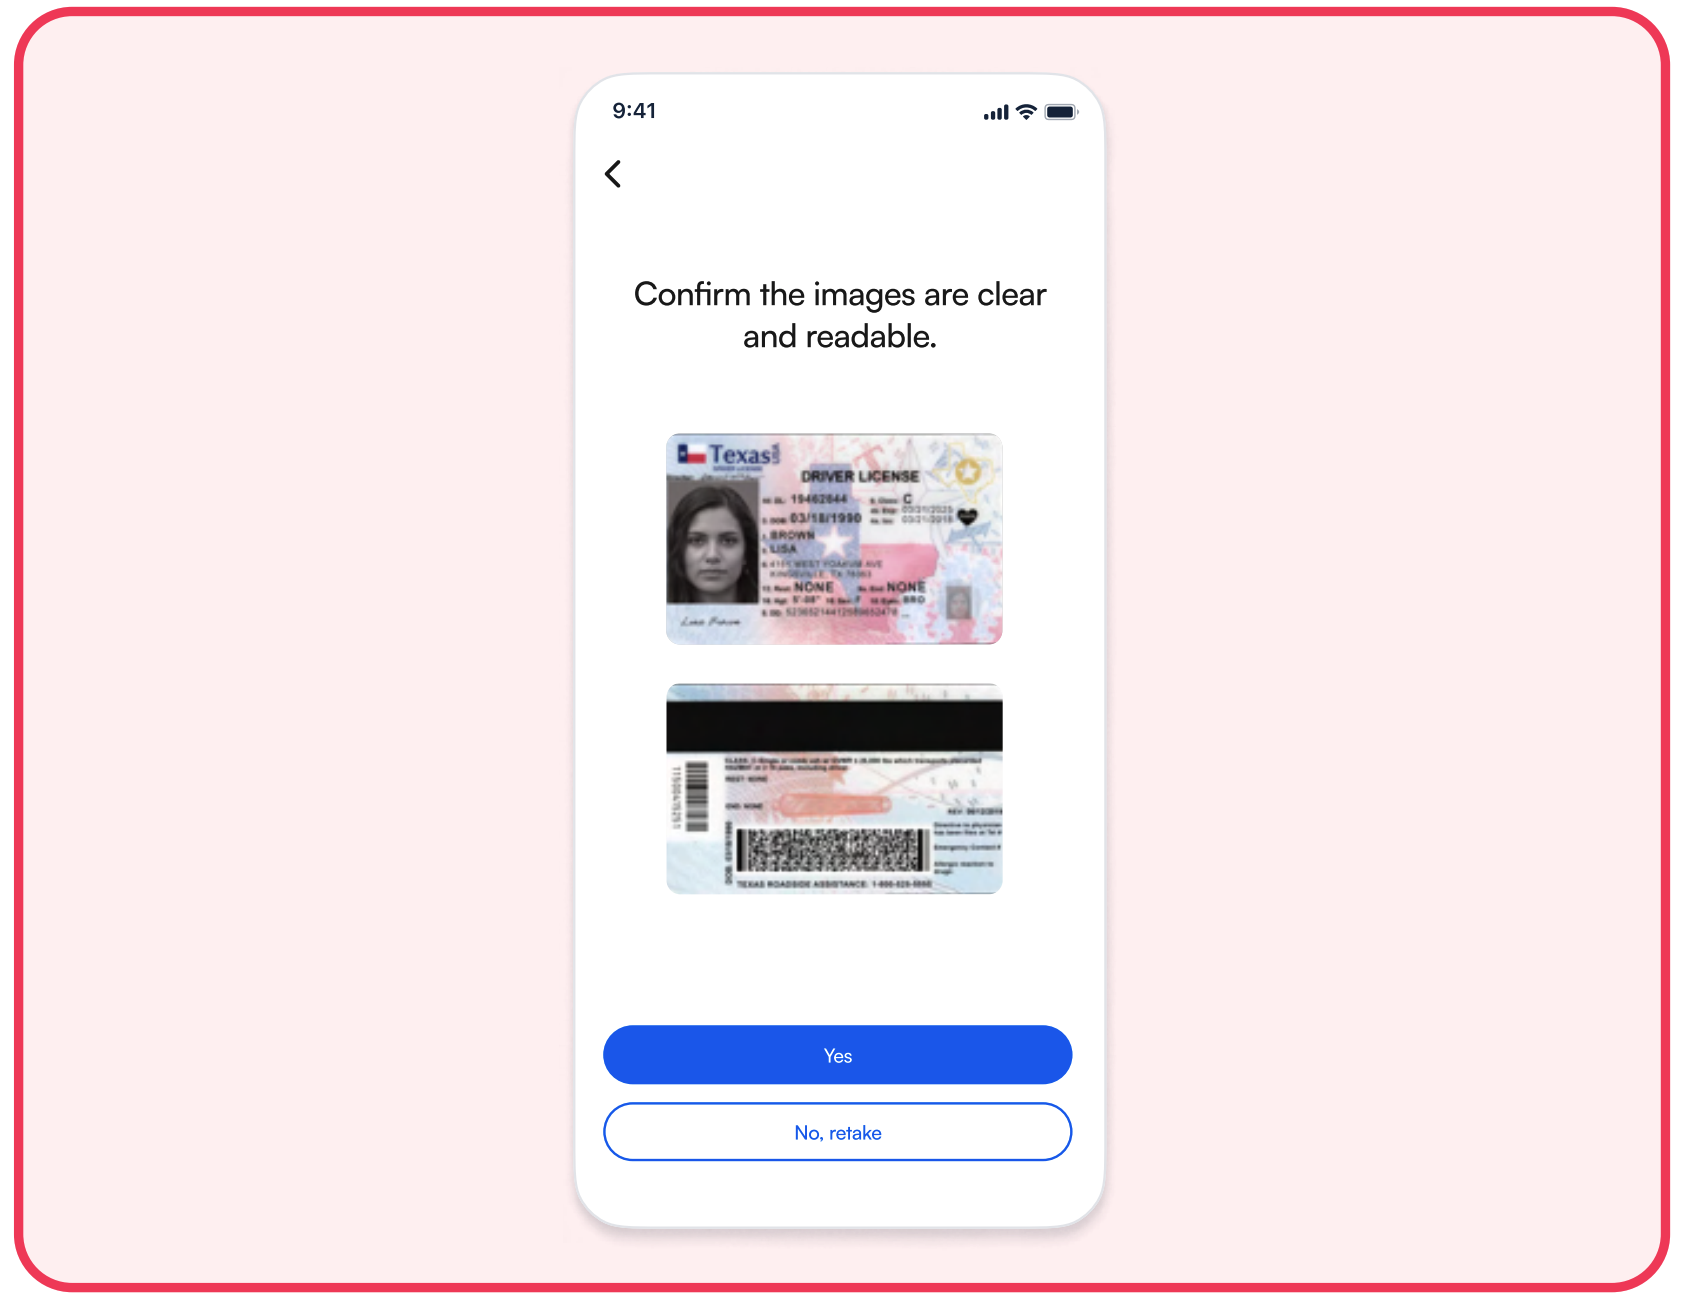
Skip manual image quality review
Avoid adding a manual image quality review step for users. This screen is commonly used in solutions that provide manual capture options, allowing users to capture anything, including unreadable images of IDs. One significant advantage of BlinkID is its automatic frame capture once data extraction is possible, ensuring that the captured images are always readable to the human eye. Although users can read data from the images and may deem them readable, they may lack the expertise to assess the required sharpness and clarity for your downstream processes accurately.