Quick start (cloud)
This guide walks through sending document images to the Verify cloud API and getting a verification response.
This guide covers the cloud API. If you're running Verify on your own infrastructure, see the on-prem quick start instead.
Get your credentials
To use the cloud API, you need your client ID and client secret.
- Sign up at the developer hub.
- Contact sales.
- Your credentials will be made available under the "API keys" section in the developer hub.
Make a request
The verification endpoint format is:
https://{region}.verify.microblink.com/api/v3/verify
Find your region here.
The API uses multipart requests, for both uploading images and sending the configuration.
- cURL
- JavaScript
- Python
- Go
curl https://us-east.verify.microblink.com/api/v3/verify \
  --request POST \
  --header 'Authorization: Basic <credentials>' \
  --form 'imageFirstSide=@front_id.jpg' \
  --form 'imageSecondSide=@back_id.png' \
  --form 'consent={
  "userId": "<your-id-for-the-end-user>",
  "durationDays": 365
}'
const formData = new FormData()
formData.append('imageFirstSide', new Blob([]), 'front_id.jpg')
formData.append('imageSecondSide', new Blob([]), 'back_id.png')
formData.append('consent', '{
  "userId": "<your-id-for-the-end-user>",
  "durationDays": 365
}')

fetch('https://us-east.verify.microblink.com/api/v3/verify', {
  method: 'POST',
  headers: {
    Authorization: 'Basic <credentials>'
  },
  body: formData
})
requests.post(
    "https://us-east.verify.microblink.com/api/v3/verify",
    headers={
      "Authorization": "Basic <credentials>"
    },
    files=[
      ("imageFirstSide", open("front_id.jpg", "rb")),
      ("imageSecondSide", open("back_id.png", "rb"))
    ],
    data={
      "consent": "{\n  \"userId\": \"<your-id-for-the-end-user>\",\n  \"durationDays\": 365\n}"
    }
)
package main

import (
	"bytes"
	"fmt"
	"io"
	"mime/multipart"
	"net/http"
	"os"
)

func main() {
	requestUrl := "https://us-east.verify.microblink.com/api/v3/verify"

	payload := &bytes.Buffer{}
	writer := multipart.NewWriter(payload)

	part, _ := writer.CreateFormFile("imageFirstSide", "front_id.jpg")

	f, _ := os.Open("front_id.jpg")
	defer f.Close()

	_, _ = io.Copy(part, f)

	part, _ = writer.CreateFormFile("imageSecondSide", "back_id.png")

	f, _ = os.Open("back_id.png")
	defer f.Close()

	_, _ = io.Copy(part, f)

	_ = writer.WriteField("consent", "{\n  \"userId\": \"<your-id-for-the-end-user>\",\n  \"durationDays\": 365\n}")
	writer.Close()

	req, _ := http.NewRequest("POST", requestUrl, payload)

	req.Header.Set("Content-Type", writer.FormDataContentType())
	req.Header.Add("Authorization", "Basic <credentials>")

	res, _ := http.DefaultClient.Do(req)

	defer res.Body.Close()
	body, _ := io.ReadAll(res.Body)

	fmt.Println(res)
	fmt.Println(string(body))

}
Use Basic Authentication with your client ID and client secret.
The format is Basic {base64(clientId:clientSecret)}.
Every cloud request must carry a consent part.
See Get your users' consent for what it contains and why it's required.
Images you can use for testing
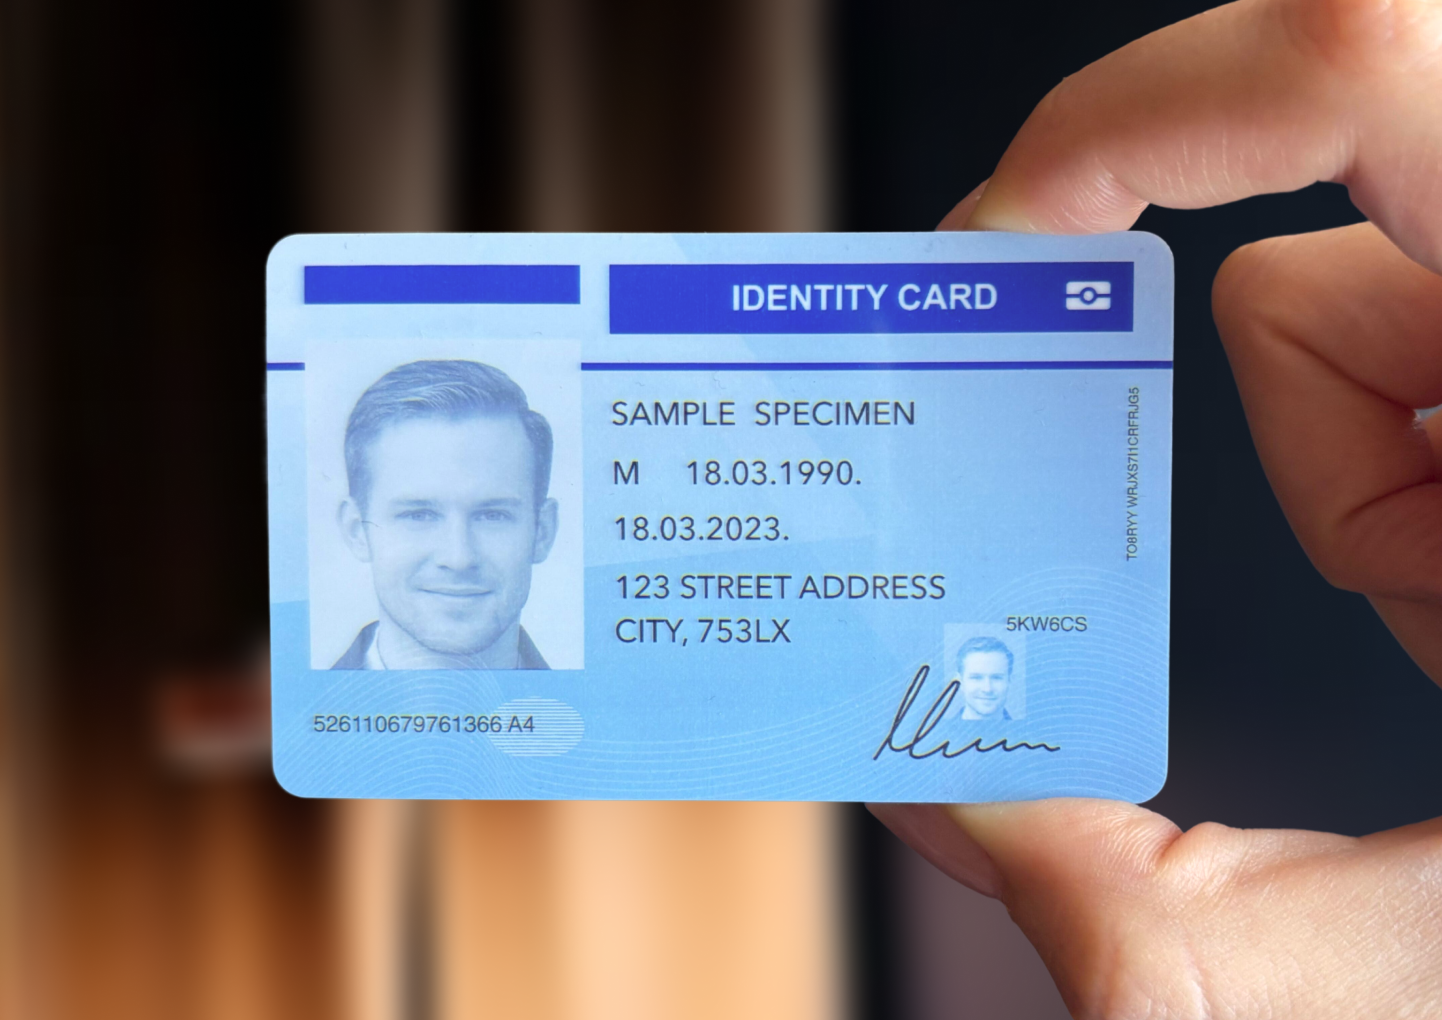
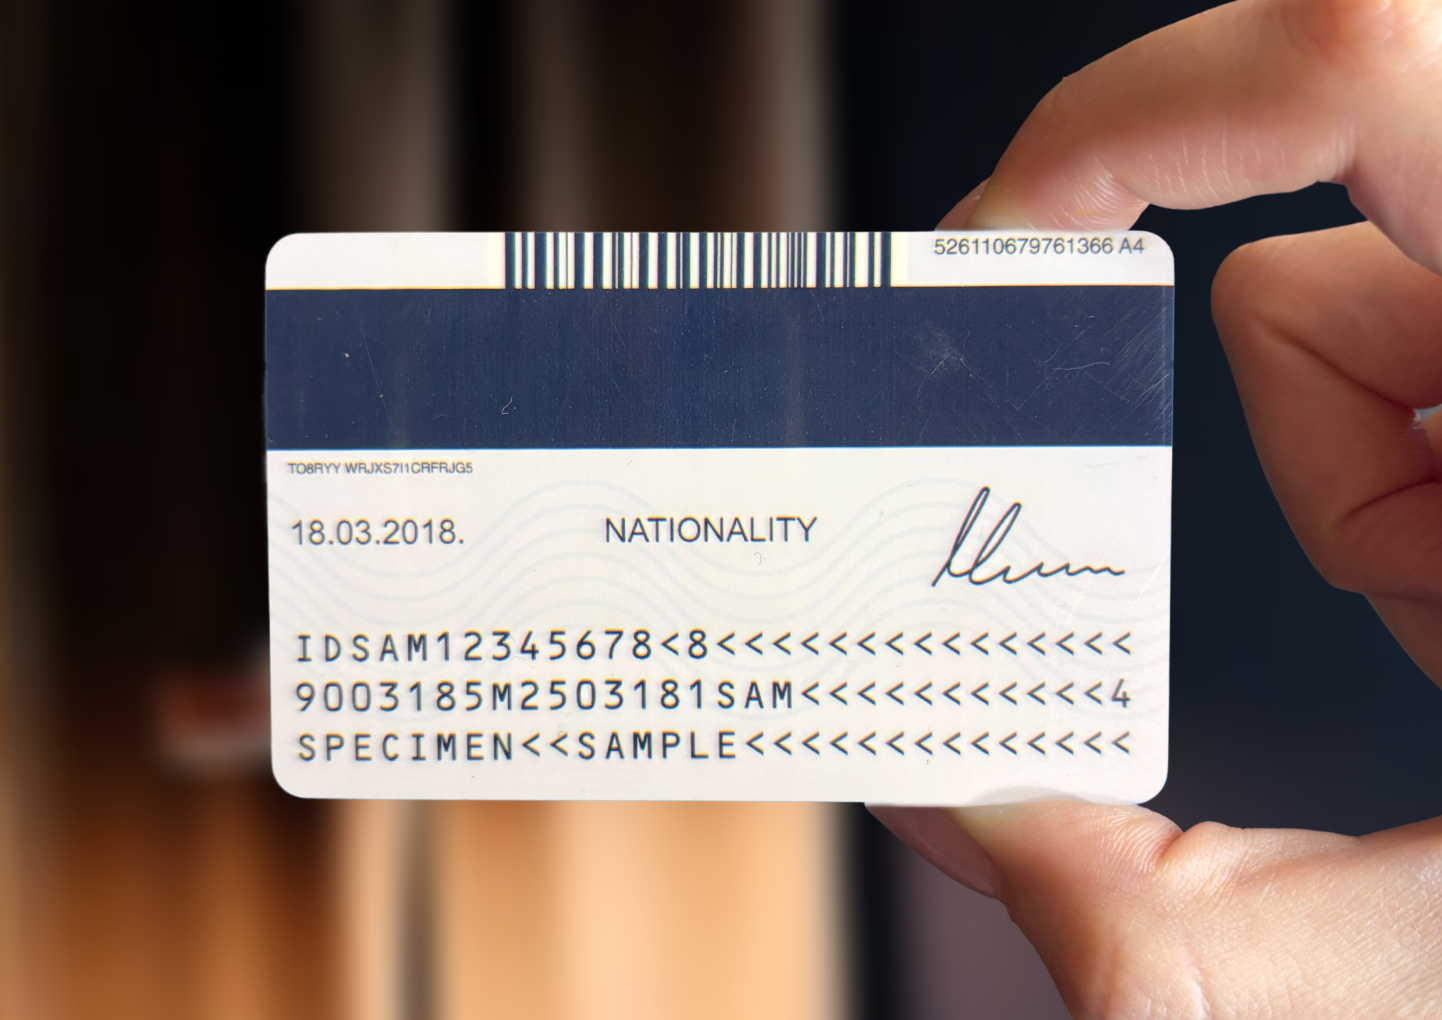
To customize the request, see Configuration.
Understand the response
The API responds with a JSON object containing the verification and extraction results. Here's a trimmed example:
{
  "verification": {
    "verdict": "Accept", // "Accept" if genuine, "Reject" if fraud
    "failedChecks": [], // failed checks at a glance
    "checks": {} // detailed info on all checks performed
  },
  "pipeline": {}, // per-stage status
  "imageAssessment": {}, // image quality, cropping, hand presence
  "extraction": {}, // extracted data from the document
  "images": {}, // cropped document, face, and signature images
  "messages": [], // error codes and similar
  "configurationUsed": {}, // what configuration was used
  "runtime": {} // trace ID and other statistics
}
The full response schema is available in the API reference.